In recent years, satellite internet has revolutionized the way we connect to the online world, and Starlink has become a leading name in this field. As more and more users turn to Starlink for their internet needs, understanding the equipment that supports this technology is vital. One essential component that users often overlook is the Starlink tripod mount, which plays a crucial role in ensuring a stable and reliable internet connection.
This article will delve deep into the features, benefits, and installation process of the Starlink tripod mount. We aim to provide you with all the information you need to set up your Starlink system effectively. Whether you are a seasoned tech enthusiast or a newcomer to satellite internet, this guide will equip you with the knowledge to make an informed decision.
Join us as we explore the ins and outs of the Starlink tripod mount, including its specifications, installation tips, and best practices for maintaining optimal performance. This comprehensive guide is designed to enhance your understanding and experience of using Starlink, making it easier for you to enjoy high-speed internet anywhere you go.
Table of Contents
What is a Starlink Tripod Mount?
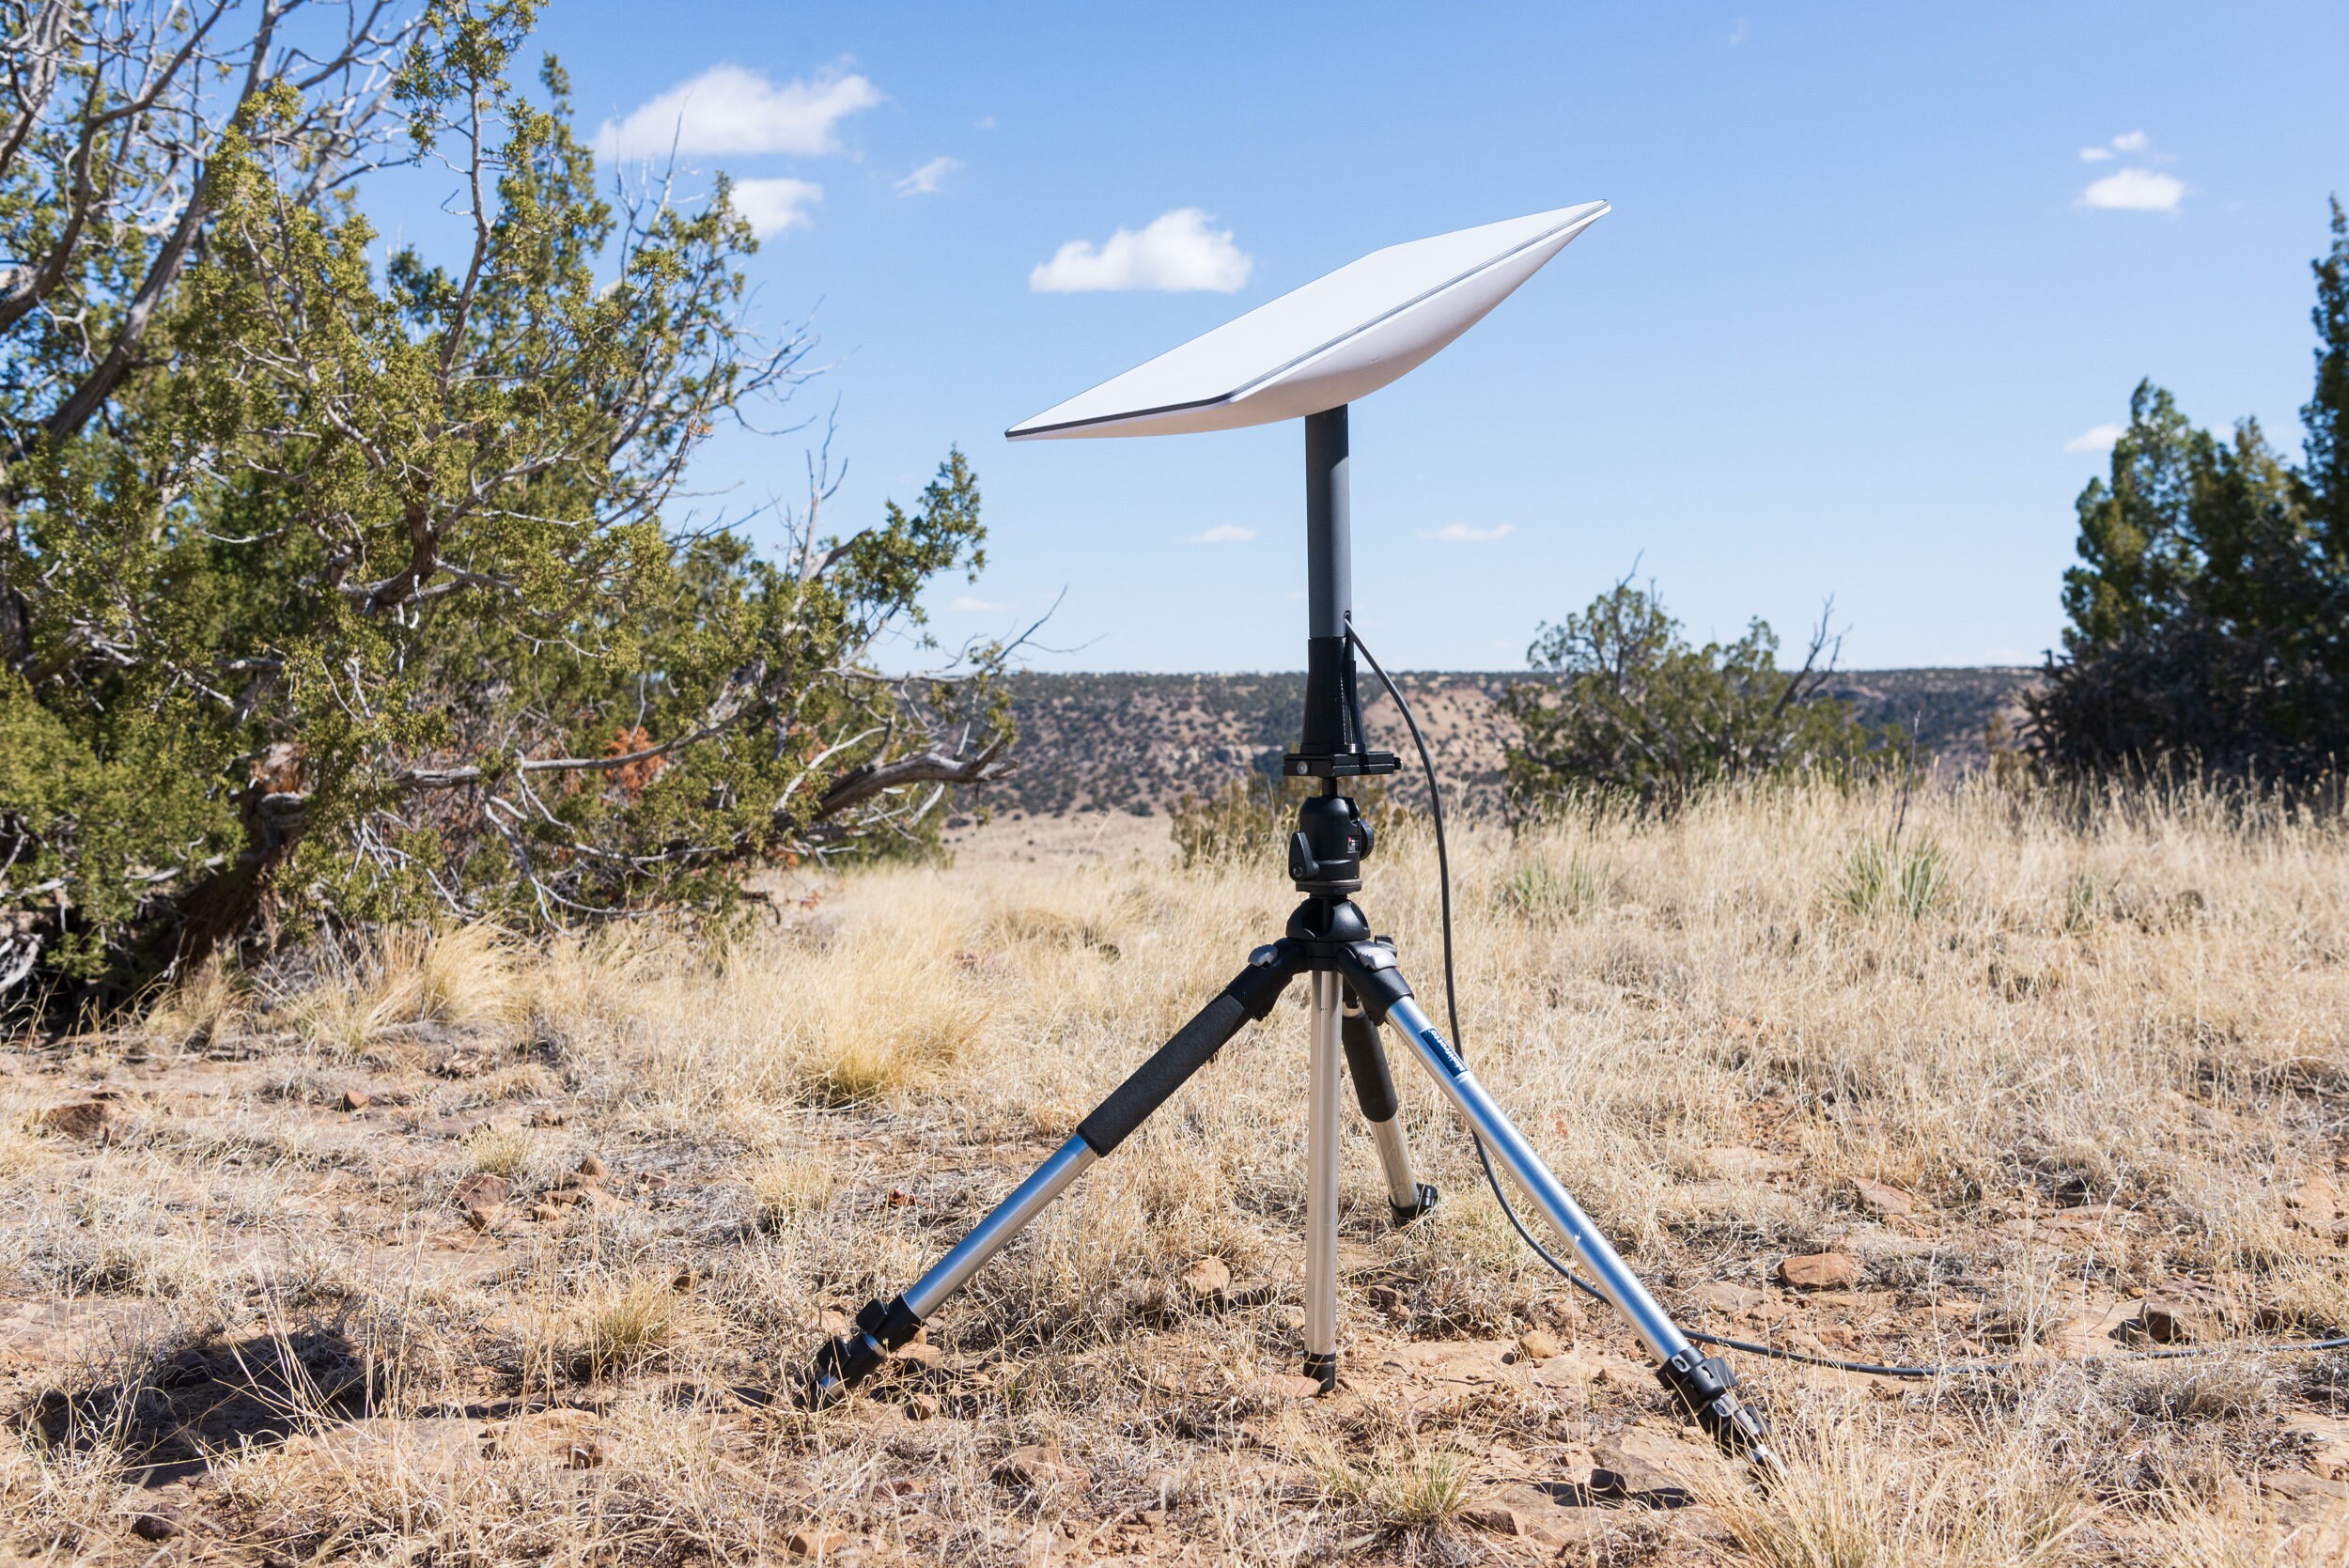
The Starlink tripod mount is a specialized mounting solution designed to securely hold the Starlink satellite dish in place. This mount is essential for users who want to achieve an optimal signal by elevating their dish above ground level. Typically made from durable materials, the tripod mount provides stability and flexibility in positioning the dish.
Starlink's satellite dish, also known as the user terminal, needs a clear line of sight to the sky to connect with the satellites orbiting above. The tripod mount allows users to adjust the angle and height of the dish, ensuring that it remains unobstructed by trees, buildings, or other obstacles.
Key Features of the Starlink Tripod Mount
- Sturdy construction for durability and weather resistance
- Adjustable height and angle for optimal satellite reception
- Compatible with various terrains, including rocky and uneven ground
- Easy installation process without the need for professional help
Benefits of Using a Starlink Tripod Mount
Using a tripod mount for your Starlink dish comes with several advantages. Here are some key benefits:
- Improved Signal Quality: Elevating the dish enhances the line of sight to satellites, resulting in better signal strength and faster internet speeds.
- Stability: The tripod design offers a stable platform that minimizes the risk of the dish being moved or knocked over by wind or debris.
- Flexibility: Users can easily adjust the dish's position to accommodate changes in their surroundings or optimize performance during different weather conditions.
- Cost-Effective: A tripod mount is generally more affordable than permanent mounting solutions, making it accessible for most users.
How to Install a Starlink Tripod Mount
Installing a Starlink tripod mount is a straightforward process that can be completed in just a few steps. Here's a detailed guide to help you:
Step-by-Step Installation Guide
Best Practices for Using a Starlink Tripod Mount
To maximize the performance of your Starlink tripod mount, consider the following best practices:
- Regularly check the alignment of the dish to ensure it remains directed towards the satellites.
- Secure the mount properly to prevent movement in windy conditions.
- Keep the area around the dish clear of debris and obstacles.
- Periodically inspect the cables for wear and tear.
Maintenance Tips for Starlink Tripod Mount
Proper maintenance of your tripod mount is essential for ensuring its longevity and performance. Here are some maintenance tips:
- Clean the dish and mount regularly to remove dirt and debris.
- Check for loose screws or bolts and tighten them as necessary.
- Inspect the mount for rust or corrosion, especially if exposed to harsh weather.
- Store the tripod mount indoors during extreme weather conditions to prolong its life.
Troubleshooting Common Issues
If you experience issues with your Starlink connection, consider these troubleshooting steps:
- Verify that the dish is correctly aligned and unobstructed.
- Check all connections and ensure that cables are securely plugged in.
- Reset the Starlink router and dish to refresh the connection.
- Consult the Starlink app for error messages and troubleshooting tips.
Comparison with Other Mounts
When it comes to mounting solutions for the Starlink dish, several options are available. Here’s how the tripod mount compares with other common mounts:
| Mount Type | Pros | Cons |
|---|---|---|
| Tripod Mount | Cost-effective, adjustable, portable | Less stable in extreme weather |
| Pole Mount | Sturdy, fixed position, high elevation | More costly, requires professional installation |
| Wall Mount | Space-saving, permanent solution | Not adjustable, limited to wall locations |
Conclusion
In conclusion, the Starlink tripod mount is an essential accessory for anyone looking to enhance their satellite internet experience. With improved signal quality, stability, and flexibility, it stands out as a practical choice for users in various environments. By following the installation and maintenance tips outlined in this guide, you can ensure that your Starlink system operates at peak performance.
If you have any questions or experiences with the Starlink tripod mount, feel free to leave a comment below. Don’t forget to share this article with others who might benefit from this information, and check out our other articles for more tips on optimizing your satellite internet experience.
Thank you for reading, and we hope to see you back for more insightful content!
ncG1vNJzZmivp6x7rLHLpbCmp5%2Bnsm%2BvzqZmp52nqLCwvsRubGirpJa%2FrbXNpGStqpmlvKV5zKisp6xencGuuA%3D%3D